How to Use OneDrive
How to Use OneDrive
Summary
Instructions on how to use your OneDrive with your student email account
Instructions
With your Outlook/Office 365 account, you receive 1024 GB of cloud storage. You can save, organize, share, and access your files anywhere. For Microsoft's OneDrive Help page, see the link below.
Microsoft Support
How to Access OneDrive
- Log in to your student email and click the Office App button in the upper-left corner (the small sectioned square with a grid of smaller squares). Note that your icons layout might look different.
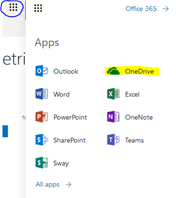
- This will open a small window showing the Office Apps icons. Click on "OneDrive" (highlighted in yellow in the image above).
Create Folders in OneDrive
In your OneDrive account, you can create folders and upload files and folders. We recommend that you create a folder for each of your classes and name the folder accordingly, for example "ENG‑111." Then you can save all your documents related to ENG-111 in that folder.
- Click "New" at the upper-left side of the page.
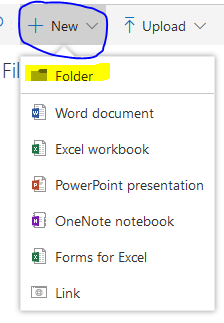
- Select "Folder" (highlighted in yellow in the image above).
- Enter name for folder (for example: "ENG-111"), and click "Create."
Place Files in Folders
There are two methods you can use to place files into specific folders in OneDrive.
Method 1
- Open the specific folder you wish to add to.
- Click "Upload" on the bar at the top of the page.
- Select the file you wish to upload into the folder.
- The file will be uploaded to the specific folder.
Method 2
- Click "Upload" on the bar at the top of the page.
- Select the file you wish to upload into the folder.
- Once the file is uploaded, right-click on it and select "Move to."
- Select "Your OneDrive."
- Select the specific file you wish to move the file to.
- Click "Move here."
Download from OneDrive
To print, edit, or submit your file to Moodle, you must first download your file from OneDrive.
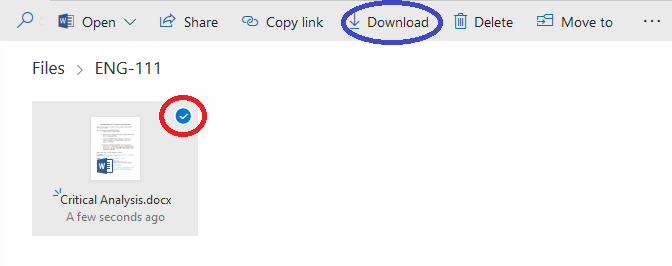
- Double-click on the file name to preview it.

- Select "Download" at the top of the page. (You can also download from the main menu within OneDrive by selecting the document and then selecting "Download" at the top of the page.)
- Open your file using the suggested application (such as Microsoft Word) or choose another application in the dialog box.
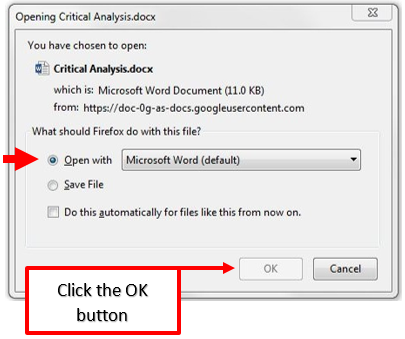
- Click "OK."
- Remember, if you edit your file, you must upload (drag and drop) it again to your OneDrive in order to save the changes.
Key Words: OneDrive, One Drive, OneDrive tutorial