Manage Waitlist
Manage Waitlist
Summary
Step-by-step instructions for how to manage a waitlist in Self-Service
Detailed Instructions
- Go to abtech.edu, select "Online Services" in the upper-right corner, and select "Self-Service."
- Enter your A-B Tech username and password.
- Select the "Registration" tile from the Self-Service Main Menu.
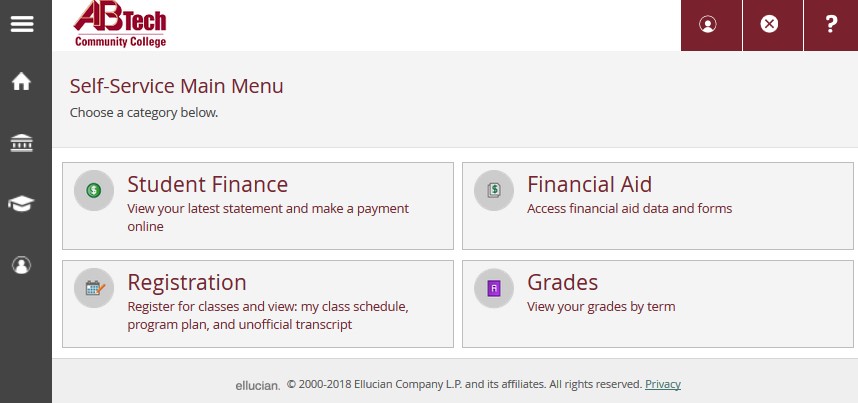
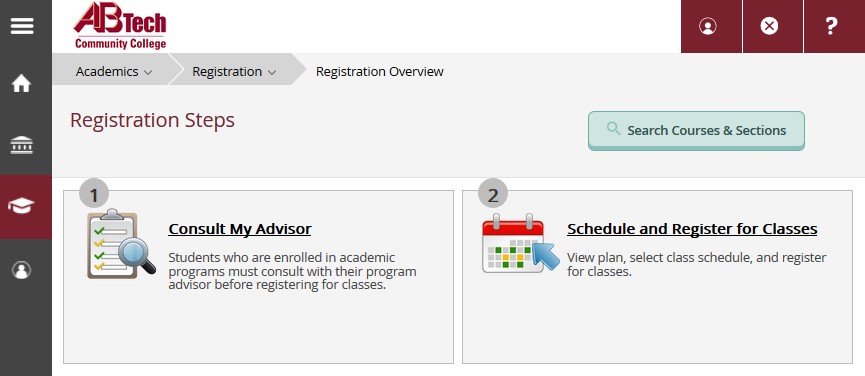
- Select "Schedule and Register for Classes."
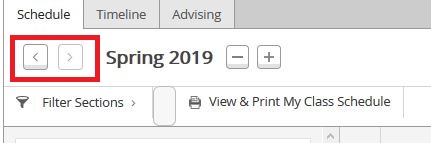
- Use the arrows to select the correct semester.
- All courses you have Planned, Scheduled, Registered, or Waitlisted will appear down the left side of the screen.
- To add yourself to a waitlist, click on the "Waitlist" button. If you do not see the button, it will be for one of the following reasons:
- You haven't Scheduled the specific section you want to register for. Refer to step #7 in the Register for Classes Online tutorial for instructions.
- The section does not have the option to be added to a waitlist.
- There is a waitlist, but it is already full.
- To remove yourself from a waitlist, click on the "Drop Waitlist" button.
- If you have permission to register for a waitlisted class, click on the "Register" button.
- To add yourself to a waitlist, click on the "Waitlist" button. If you do not see the button, it will be for one of the following reasons:
Key Words: waitlist, manage waitlist, wait list, waitlisted, wait listed